I got one of these little things from Aliexpress while I was looking into Meshtastic. It seemed like a reasonable little low power device with a solar panel and a built-in battery.
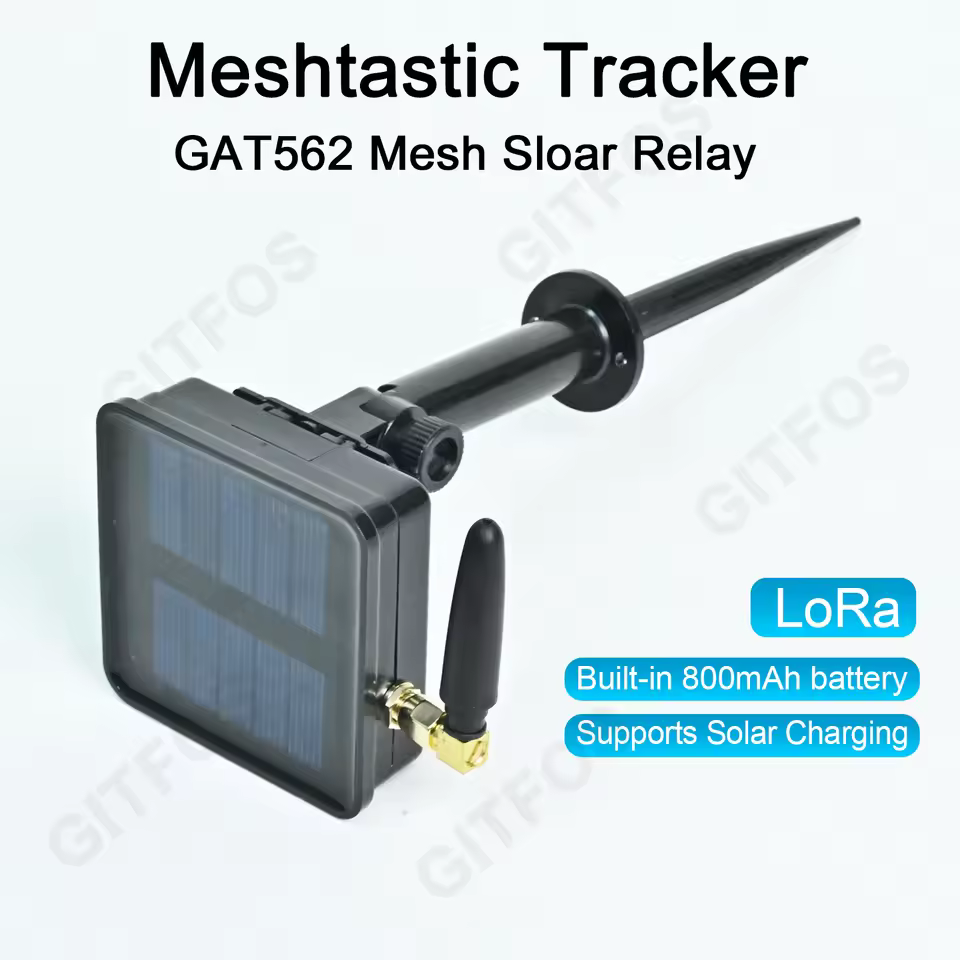
Given the size of the solar panel and battery, I honestly wasn’t expecting this thing to be able to last through an overcast day. But to my surprise the power consumption of the board is so low, I got multiple sun-less days out of it.
It shows up as a Meshtastic device when you scan for Bluetooth. You connect to it and configure it just like you would any other Meshtastic node.
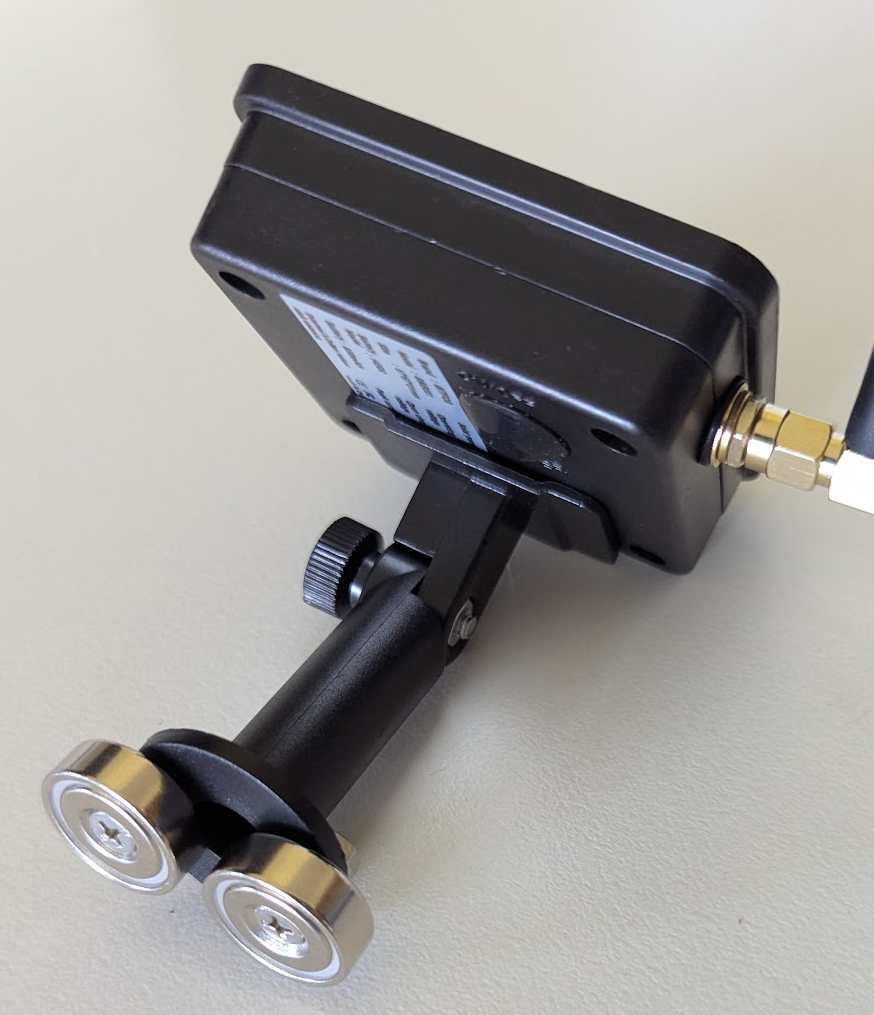
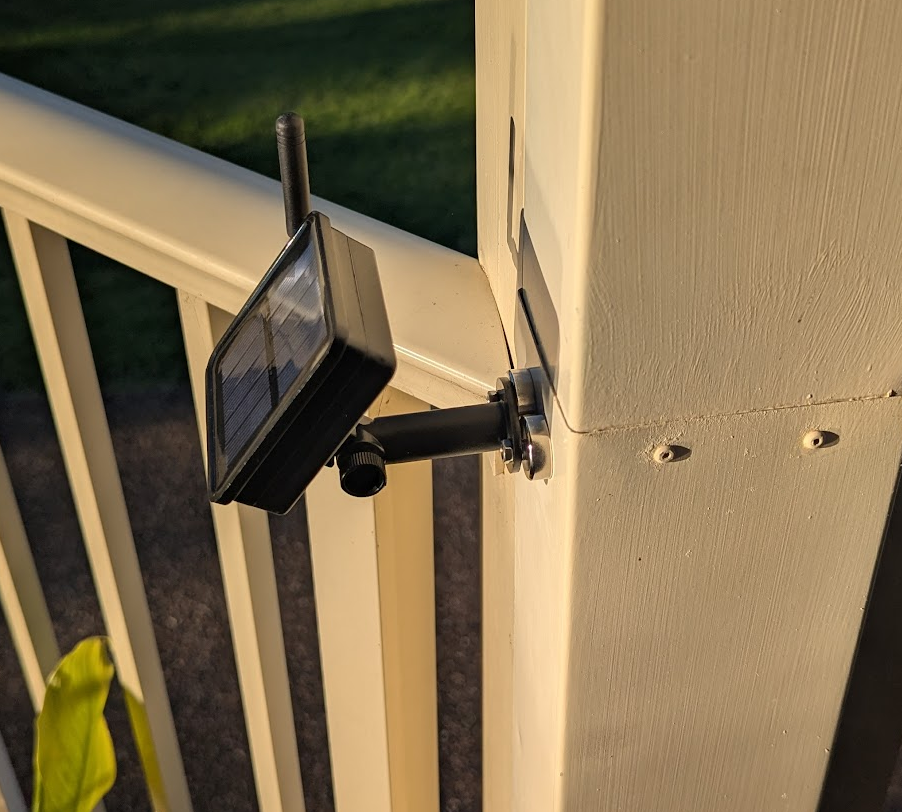
It looks like they used some surplus Solar Garden Light enclosures, complete with the spike to put it in the ground. This isn’t really useful since you’d want to raise this above ground level to improve coverage.
I decided to put some really strong Neodymium magnets on it. This means I can put it almost anywhere I need extra coverage. Just make sure its facing the right direction for optimal sunlight collection. Ensure its tilted so water doesn’t pool on it, I don’t think I’d trust the rubber seal to stand up to submersion, but it should hold up against rain just fine.
Since it shipped with a stable Meshtastic 2.6 firmware, I decided I wanted to upgrade it to one of the Alpha 2.7 versions just like all my other Meshtastic nodes.
Upgrading over Bluetooth with the nRF Connect mobile app is apparently possible, but if this failed I’d need a way to connect to the board physically. So I decided to just do it over USB.
I eventually ended up switching to Meshcore (a story for another time), the upload process is the same.
I managed to find some information about these devices on the meshcn.net site. The page was in Chinese, and I’ve referred to this section so frequently that I’m including it here in English. If you want the full article, load it up in your favourite translation tool. That site has way more Meshtastic info, I recommend you check it out.
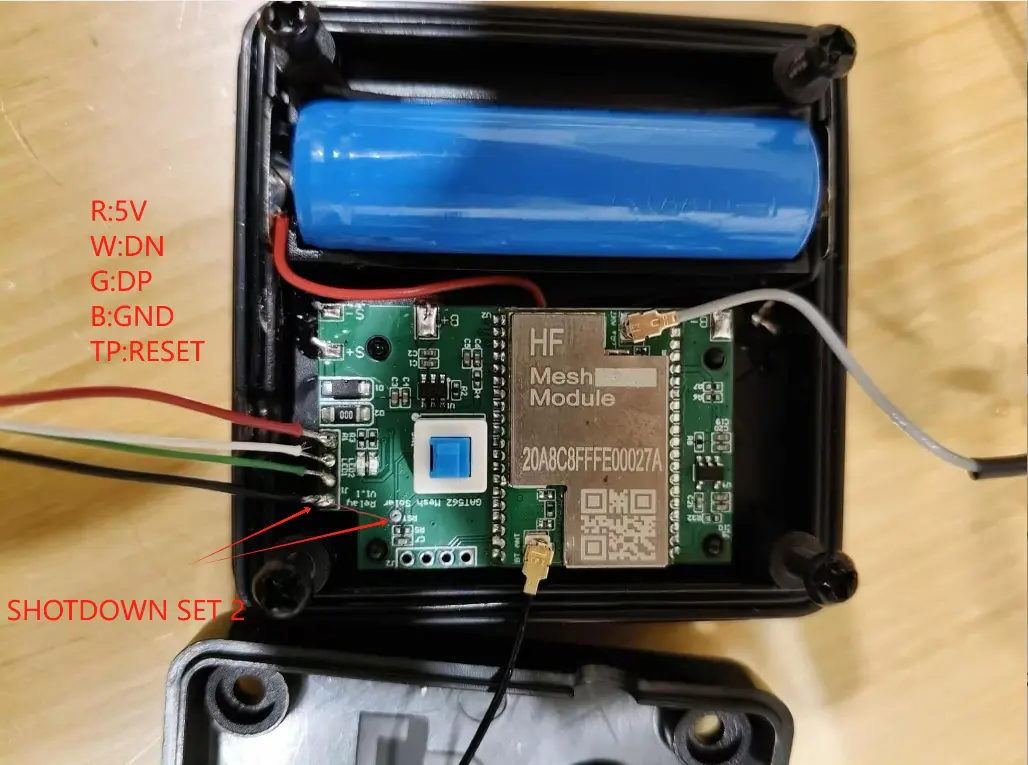
Connecting a USB cable to the pins.
- R (red line): 5V
- W (white line): connected to Data –
- G (green line): connect Data +
- B (black line): connected to GND
Also note the location of the RST Test point on the board.
Firmware Update Steps
- Connect a USB cable, either solder it or use a jig (here’s one I designed for this)
- Plug the USB cable into your computer.
- Short the RST pad to ground twice. This puts it in DFU mode.
- The device will now show up as a removable disk on your computer.
- Copy the .uf2 firmware file onto the removable disk.
- Once the copy completes, the board will reset itself.
Leave a Reply
You must be logged in to post a comment.